When you play electro live, you need control, and you quickly reach the limit of existing controllers. How can you get more control over your live set, for example by sending MIDI Sysex with any MIDI control surface? Filter and merge multiple MIDI controllers to different synths? Here's my solution with a Raspberry PI Zero.
If you're in dawless mode, the possibilities for MIDI control or filtering are quite limited, limits that don't exist if all your synths are connected to a DAW like Ableton.
I wanted something really flexible and compact. I'm not afraid of programming, so I chose to use a Raspberry PI Zero W as the basis for my MIDI controller.
Which MIDI interface for the Raspberry PI Zero?
For standard DIN MIDI on the Raspberry you could use a basic midi usb cable, but I don't consider that elegant, especially as there aren't many USB ports on the PI Zero, so you'd have to add a hub.
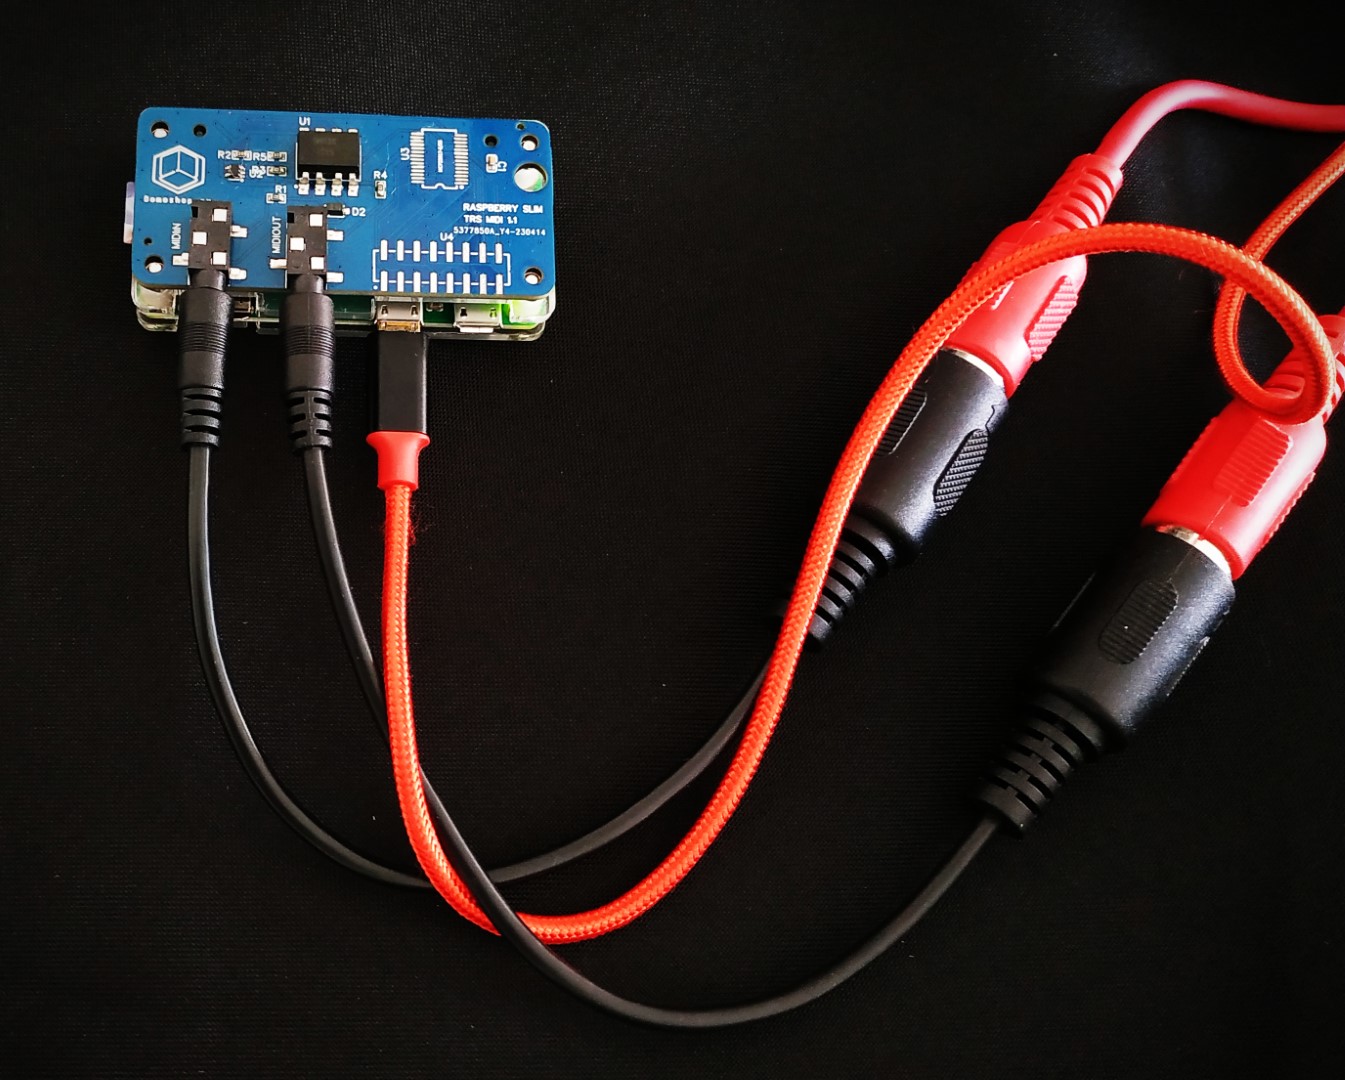
But I found this Slim MIDI Adapter interface on Domoshop, which connects to the PI's 40-pin extension port and integrates nicely into the PI with a small basic plexi box. You'll need to add 2 TRS-DIN type B cables, but I think it's a really nice MIDI hat (which should evolve since you can see on the photo that a chip to manage encoders may be added).

Once the raspberry's basic WIFI setup has been carried out (there are plenty of tutorials on the subject), all you need to do is install the 'ttymidi' program with this .deb package so that the MIDI ports are recognized at system level. I have 'forked' an older ttymidi code to make the installation on the RPI Zero easier:
$ wget https://github.com/ldrolez/ttymidi-sysex/releases/download/v0.20240907/ttymidi-rpi_0.20240907_armhf.deb
$ sudo apt-get install ttymidi-rpi*.deb
There are a few more details on the Domoshop blog. Please note that on my PI Zero, I had to remove the 'enable_uart=1' line from /boot/config.txt.
Finding a case for the Raspberry PI zero MIDI hat
I've tested a few housings, and the easiest way is to start with simple Plexiglas protectors, and sandwich the hat and PI with nylon spacers. It would be nice to be able to use an official case, but you'd have to redesign the top part and print it at home.
If you have a laser cutter or a 3D printer, you can build a simple protection yourself with the models I have published here
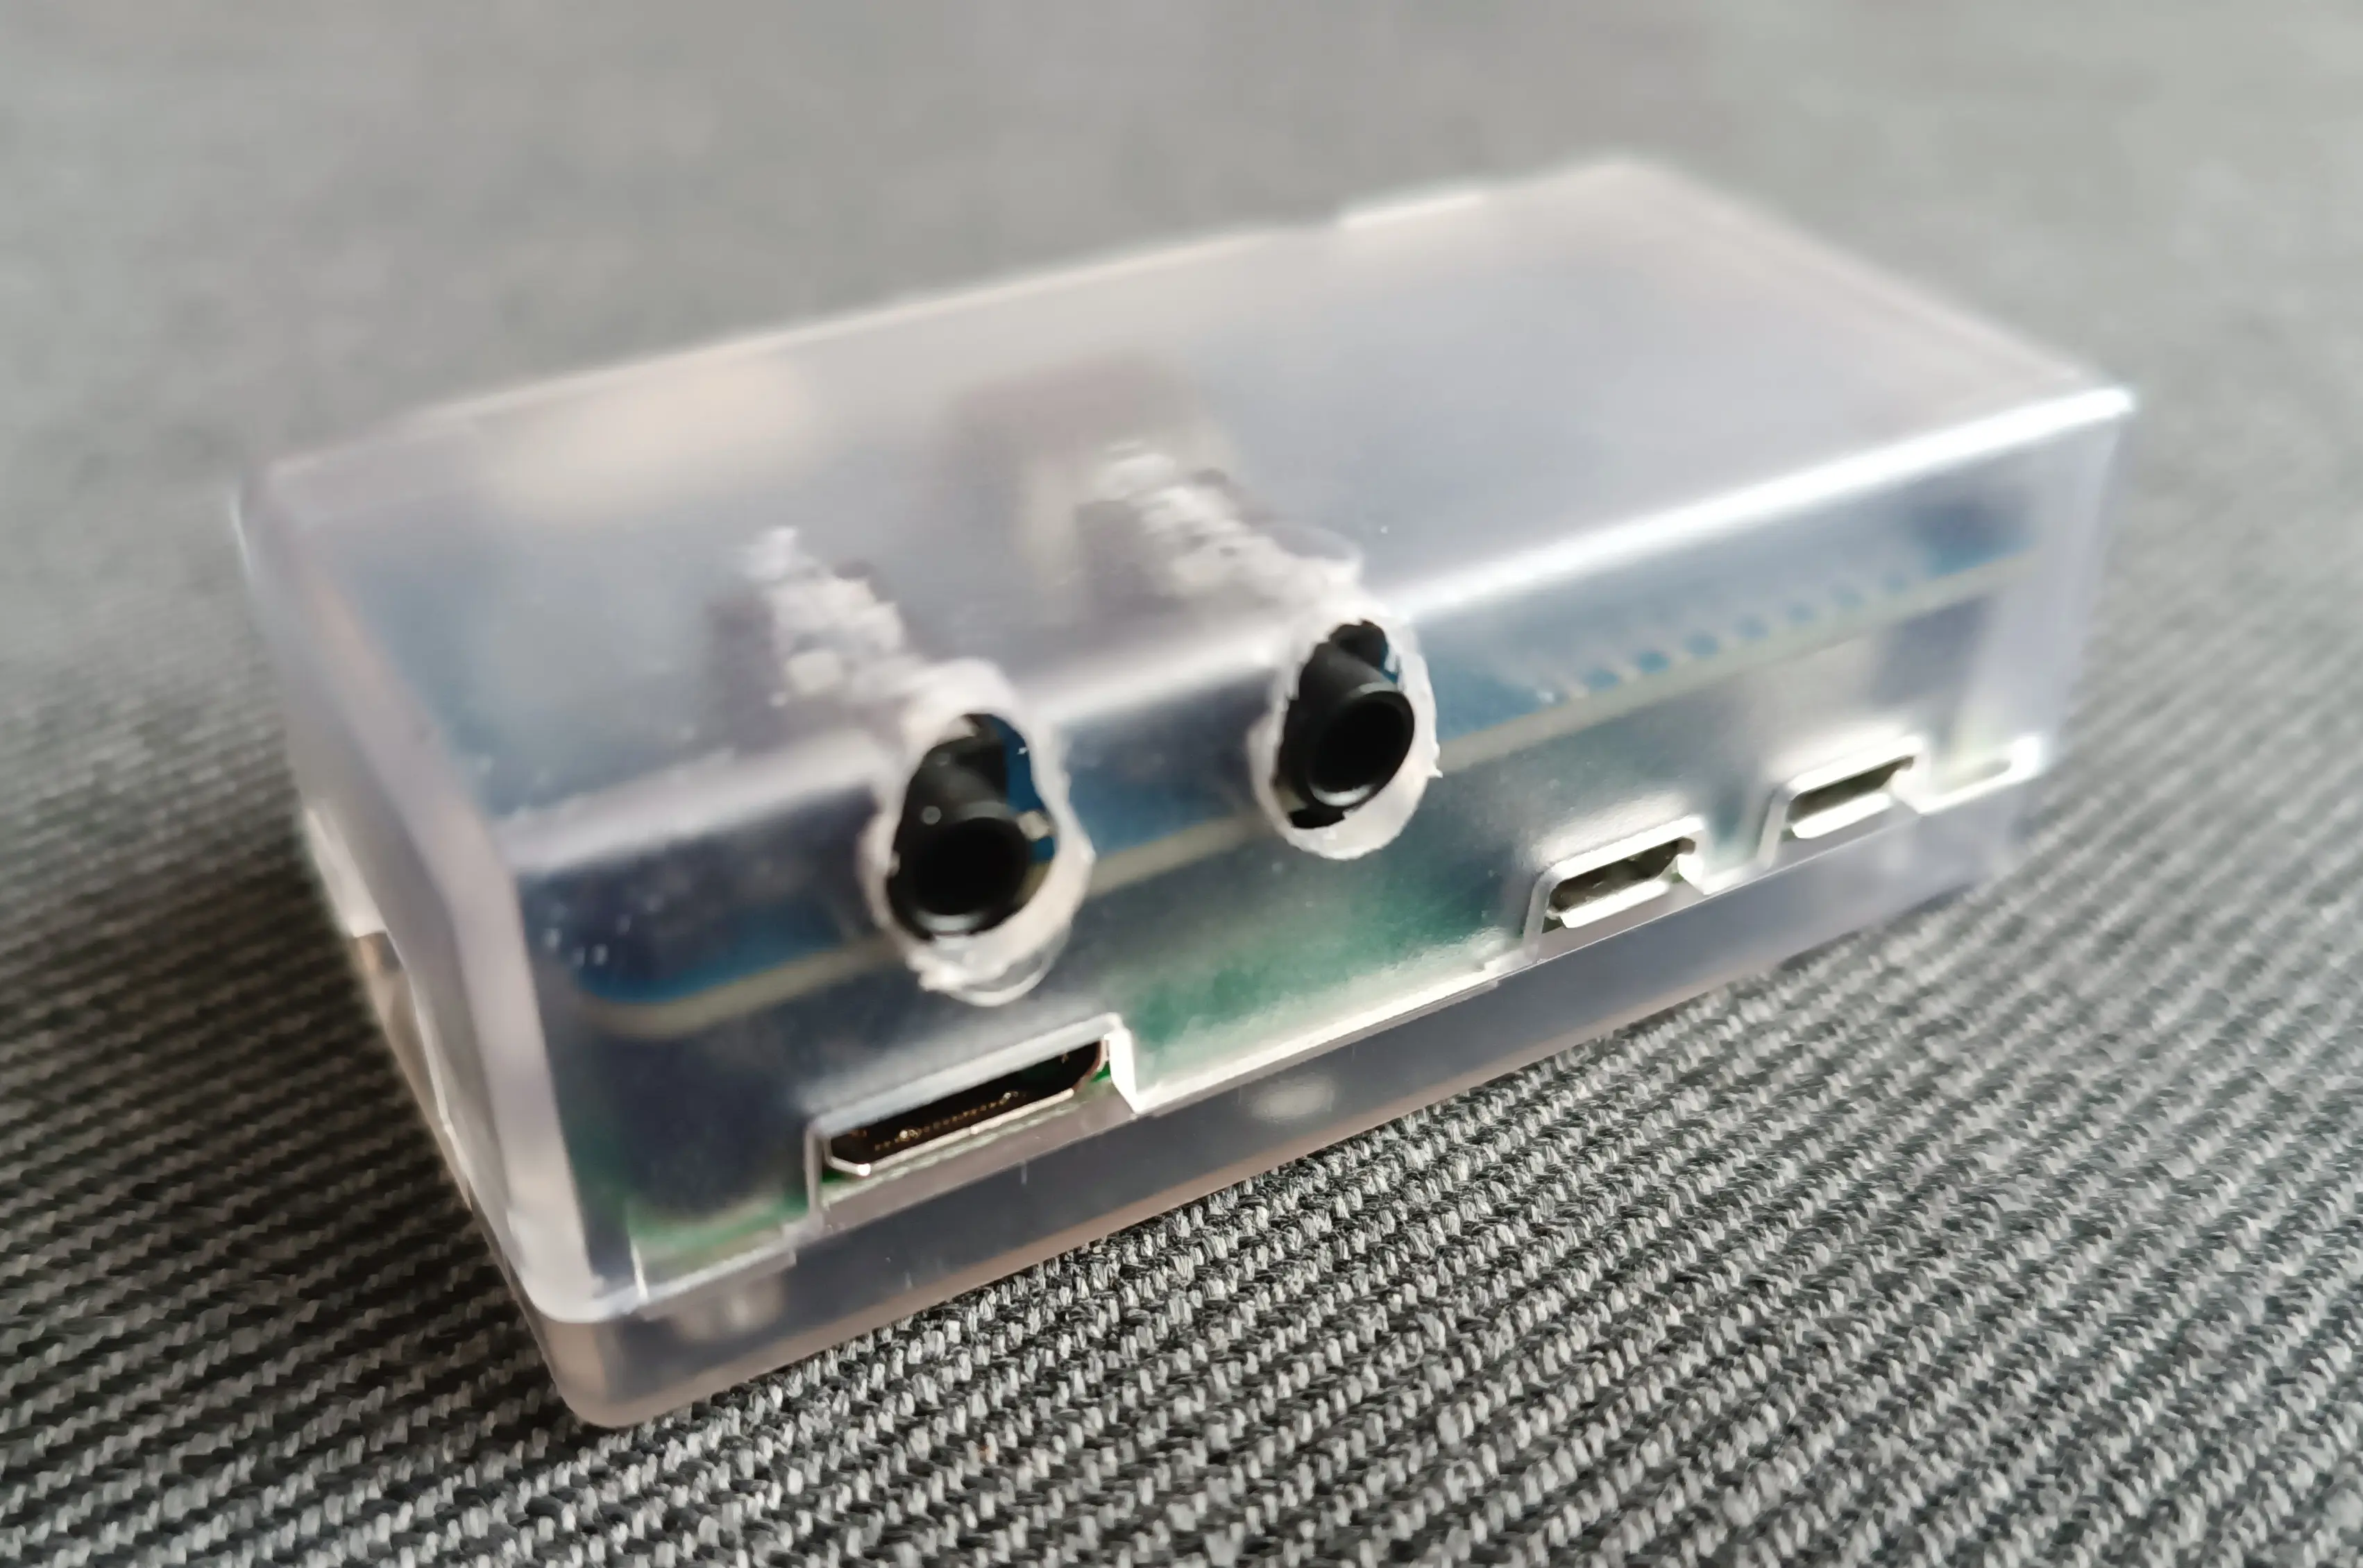
Another compromise is to use this case found at Aliexpress, which has the exact dimensions! All you need to do is make 2 holes for the TRS plugs. As you can see below, I don't have the right tools to make clean holes 😅

Example MIDI CC to Sysex converter for my Verselab MV-1
The first thing I want to do with this MIDI filter is to be able to send complex MIDI Sysex from my Launchpad Pro mk3 to my Verselab MV-1, so that I can control some of the MFX Verselab's hidden parameters live.
I'll start by programming a Python script with MIDO, a cool MIDI library. $ sudo apt-get install python3-mido python3-rtmidi to get that Python module.
Here's the script:
import mido

inport = mido.open_input('MIDI In')
outport = mido.open_output('MIDI Out')

for msg in inport:
  # filter out clock messages
  if msg.type != "clock":
    if msg.type == "control_change":
      # I want to convert CC81 from channel 7 to Sysex
      if msg.channel == 6 and msg.control == 81:
        sysx = mido.Message('sysex')
        # Roland SYSEX
        sysx.data = [ 0x41, 0x10, 0x00, 0x00, 0x00, 0x6F, 0x12 ]
        # Parameter chosen
        sysx.data += [ 0x10, 0x00, 0x18, 0x14, 0x08, 0x00 ]
        # convert CC value to Roland Sysex
        sysx.data += [ int(msg.value / 16) , int(msg.value & 15) ]
        # checksum that is not checked :)
        sysx.data += [ 55 ]
        # send the Sysex data
        outport.send(sysx)
        # debug
        # print(sysx.hex())
      else:
        outport.send(msg)
        # print(msg)
    else:
      outport.send(msg)
It's quite simple to understand, the only exotic part are the Roland SYSEX codes, documented in my other blog post.
With this script, using the CC81 virtual slider on my Launchpad, will send Sysex Code to my Verselab to modulate the synth global effect.
If you prefer to use a Python Virtual Env, make sure you install python-rtmidi, not the rtmidi package!
Go further with this MIDI controller
The next step would be to be able to edit MIDI scripts from the browser of a phone or tablet, because SSH is nice but a bit too geeky.
So I installed jupyter-notebook (apt-get install jupyter-notebook) and to launch it automatically at boot time, first set a password:
$ jupyter notebook password
Enter password:
Verify password:
And make a directory for your scripts, then add jupyter to your crontab:
$ mkdir scripts
$ crontab -e
And add the following line:
@reboot nohup jupyter-notebook --ip 0.0.0.0 --notebook-dir=scripts --no-browser &
Find the Raspberry IP address and point a browser to http://the_pi_zero_ip:8888 to start editing your MIDI scripts. After entering your password, click on New->Python 3 (ipykernel), and enter your script. To launch it, simply click on the Run button.
It's a bit rustic, but it's the most flexible solution I've found for manipulating MIDI the way I want.

Some sequencers in Python
I have started to write a few MIDI sequencers for fun. You can download and tweak the code from here: Python Midi Sequencers
If you need more details on how to write MIDI sequencers in Python with MIDO, click here. The most interesting one is loop8.
Next expriments
Stay tuned, over the coming months, I'm going to have a lot of things to test with this SLIM MIDI interface:
- Add a 2nd Launchpad and use the Raspberry's USB Midi host function
- Test Midish and Mididings filters
- Test Zynthian software and scripts, as their MIDI interface is compatible with Domoshop's.
- Test Puredata in a browser.
- See if Norns scripts can run on it.
- Connect more USB Midi devices to see how many the Raspberry can handle
The Linux and Raspberry MIDI and Sound ecosystem is extremely complete, and it takes time to explore and find interesting stuff!
If you have any questions or ideas, please don't hesitate to comment me below! 👇👇
References:

Speak your mind