Discover the thrill of building a custom MIDI sequencer with a Raspberry Pi! This DIY project empowers musicians and tech enthusiasts to create a personalized musical tool. With endless customization options, you can tailor every feature to your unique style, enhancing your music production and performance.
Beyond the creative benefits, this project offers a hands-on learning experience in Python programming and MIDI, all while connecting you to a vibrant community of like-minded innovators. Dive into the world of custom MIDI sequencing and unleash your creative potential with the powerful, versatile $20 Raspberry Pi Zero.
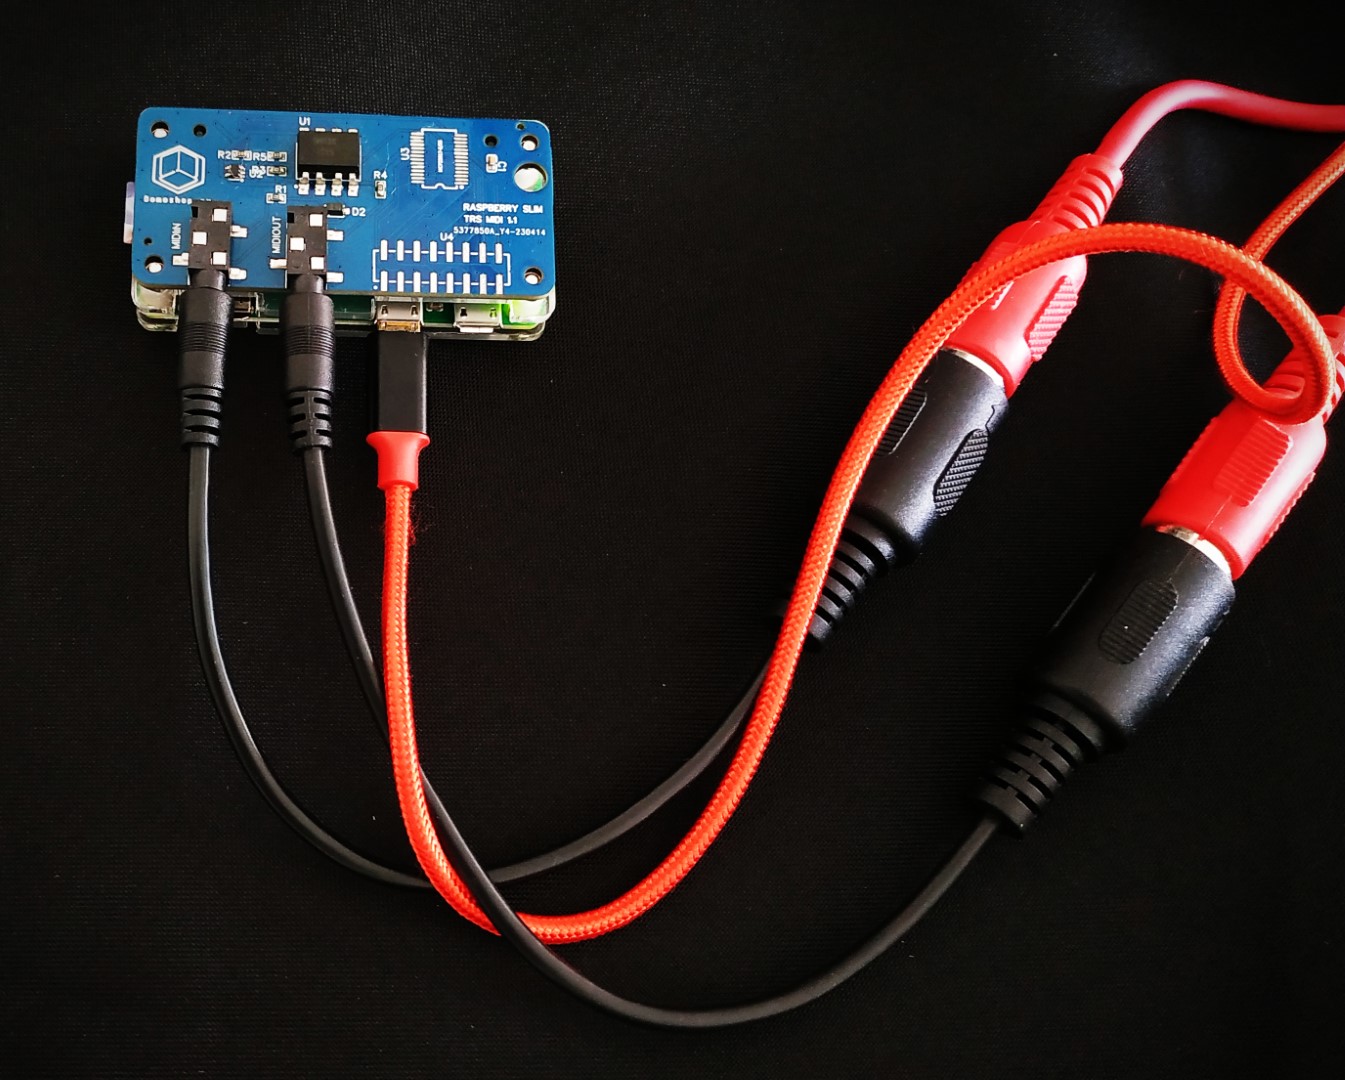
My exploration begun in this article with a Raspberry PI Zero and the Domoshop Slim MIDI Adapter. Read the article if you need to setup Midi, Alsa and ttymidi on your Raspberry.
The Python code examples can be downloaded from my ttymidi package repository: example MIDI sequencers and filters
Let's see how to build 2 basic MIDI devices:
- A simple delayed MIDI echo
- A looping MIDI sequencer with evolving patterns
How to build a basic MIDI delay echo device?
You can download the code of this example here: seq-echo-delay.py
It's a good basis for creating more complicated sequencers or filters. So I'll try to explain the most important lines of this code. Bear in mind that most of this code was written by ChatGPT, so if you don't like programming, ask your favorite AI what you'd like the sequencer to do, and chances are it'll work.😊
The main part sets up the MIDI input and output ports, creates the message queue, and starts the input and output handling threads. It keeps the main thread running to prevent the program from exiting until interrupted.
We create and start two threads:
- inport_thread: Handles reading from the input port.
- outport_thread: Handles writing to the output port.
So if you want to modify how the MIDI messages are processed, you'll have to modify inport_thread and outport_thread functions.
the Inport thread
The inport_thread continuously reads MIDI messages from the input port. For each message (excluding clock messages), it prints the message and places it in a thread-safe queue (msg_queue). This setup allows for non-blocking, concurrent processing of MIDI input, ensuring that the program can handle incoming MIDI messages without delay and pass them to other parts of the program (handled by handle_outport) efficiently. The use of threads allows the input and output processes to run independently and concurrently.
def handle_inport(inport, msg_queue):
    while True:  # Continuously run this loop
        for msg in inport.iter_pending():  # Check for any pending MIDI messages
            if msg.type != "clock":  # Exclude "clock" messages
                print("Received:", msg)  # Print the received message
                msg_queue.put(msg)  # Put the received message in the queue
- Infinite Loop: The while True loop ensures the function runs continuously, allowing it to constantly check for new MIDI messages.
- iter_pending: The inport.iter_pending() method is used to get any pending MIDI messages from the input port. This is non-blocking and returns all messages that have been received since the last call.
- Message Filtering: The if msg.type != "clock" condition filters out MIDI clock messages, which are often sent frequently and might not be needed for this particular application.
- Message Handling:
- Printing: print("Received:", msg) prints the received message to the console for debugging or logging purposes.
- Queueing: msg_queue.put(msg) places the received message in the msg_queue. This queue is thread-safe, meaning it can be safely used by multiple threads simultaneously without causing data corruption or other issues.
The Outport thread
The outport_thread continuously retrieves MIDI messages from a thread-safe queue (msg_queue) and sends them to the MIDI output port. It includes a delay (0.5 seconds in this case) before sending each message, which can be used to create effects such as echo. If the queue is empty, the thread will wait up to 1 second for a message to become available. This setup allows the output process to run independently and concurrently with the input process, ensuring smooth handling of MIDI messages. The use of threads ensures that input and output operations do not block each other, maintaining responsiveness in the MIDI handling.
def handle_outport(outport, msg_queue):
    while True:  # Continuously run this loop
        try:
            # Attempt to retrieve a message from the queue with a timeout of 1 second
            msg = msg_queue.get(timeout=1)
            time.sleep(0.5)  # Delay to create an echo effect
            print("Sending:", msg)  # Print the message being sent
            outport.send(msg)  # Send the message to the output port
            msg_queue.task_done()  # Mark the task as done
        except queue.Empty:
            # If the queue is empty, continue the loop and try again
            continue
- Infinite Loop: The while True loop ensures the function runs continuously, allowing it to keep checking for new messages in the queue.
- queue.get with Timeout: The msg_queue.get(timeout=1) method tries to retrieve a message from the queue, waiting up to 1 second if necessary. This prevents the thread from being blocked indefinitely if the queue is empty.
- Delay: time.sleep(0.5) introduces a delay of 0.5 seconds before sending the message. This creates an echo effect for the MIDI messages.
- Printing: print("Sending:", msg) prints the message to the console for debugging or logging purposes.
- Sending: outport.send(msg) sends the retrieved message to the MIDI output port.
- Task Done: msg_queue.task_done() indicates that the processing of this particular message is complete. This is important for keeping track of unfinished tasks if the queue were to be joined later.
- Handling Empty Queue: If the queue is empty (queue.Empty exception is raised), the continue statement makes the loop go to the next iteration, effectively retrying to get a message from the queue.
The other example called seq-echo-delay-sync.py, is similar, but processes the MIDI clock in order to have a delay synced to the clock.
Now let's continue with a simple sequencer that produces interesting, evolving melodies.
The looping MIDI sequencer
You can download the code of this example here: seq-midi-loop8.py
You can also try this NEW dual looping sequencer: seq-midi-loop-2x8.py
This sequencer takes incoming MIDI notes and put them in a loop containing a maximum of 8 notes. As new notes arrive, they replace the older ones, keeping the loop to a maximum of 8.
As before the processing is done with the handle_inport and handle_outport functions.
the Inport thread
The handle_inport function is designed to continuously read incoming MIDI messages from an input port. It categorizes the messages into two types: note_on messages are appended to a deque (msg_deque), and clock-related messages (clock, start, stop) are processed by the handle_clock function and placed into a queue (clock_queue). This separation allows for different handling strategies for musical note events and timing-related events, enabling more sophisticated MIDI processing and sequencing in the overall application.
When new notes are added to msg_deque old notes are automatically removed.
You can increase the queue by changing this line:
# Initialize a deque with a maximum length of 8
msg_deque = deque(maxlen=8)
the Outport thread
The most intersting processing occurs in handle_outport.
The handle_outport function is designed to handle MIDI output in sync with MIDI clock messages. It continuously checks for clock messages from the clock_queue and processes them every quarter note. When a clock message is processed, it retrieves a note_on message from the msg_deque, sends it to the MIDI output port, waits for a short duration, and then sends a corresponding note_off message. This creates a sequence of note messages that are played in sync with the MIDI clock. The use of a global clock_s variable allows for dynamic adjustment of the timing between notes, and the seq counter ensures that notes are played in a round-robin fashion from the deque.
def handle_outport(outport, msg_deque, clock_queue):
    global clock_s, clock_bpm

    seq = 0
    while True:
        try:
            msg = clock_queue.get(timeout=1)  # Get a clock message from the queue with a timeout
            # wait for a quarter note. 24 clocks per beat
            if msg % (24/4) == 0:
                l = len(msg_deque)
                # if the deque is not empty, start to iterate
                if l > 0:
                    note_num = (1+seq) % l
                    note_on = msg_deque[note_num]
                    print("Sending:", note_num, note_on)
                    outport.send(note_on)  # Send the note on to the outport
                    time.sleep(clock_s/4)  # Wait a little
                    # build the note off message
                    note_off = mido.Message('note_off', note=note_on.note, velocity=0, channel=note_on.channel)
                    outport.send(note_off)  # Send the message to the outport
                    seq = seq + 1
                clock_queue.task_done()  # Mark the task as done
        except queue.Empty:
            continue  # Continue if the queue is empty
Explanation:
-
Global Variables:
global clock_s, clock_bpm: This line declaresclock_sandclock_bpmas global variables, meaning they are defined outside the function and will be used within it.clock_sis the time interval between clock ticks.
-
Sequence Initialization:
seq = 0: Initializes a sequence counter to keep track of which note to play from themsg_deque.
-
Infinite Loop:
while True: The function runs continuously, allowing it to keep checking for new clock messages and handling them accordingly.
-
Handling Clock Messages:
msg = clock_queue.get(timeout=1): Attempts to retrieve a clock message from theclock_queue, waiting up to 1 second if necessary. If no message is received within this time, aqueue.Emptyexception is raised.if msg % (24/4) == 0: Checks if the clock message corresponds to a quarter note. MIDI clock messages are typically sent 24 times per beat, so this condition ensures the action is taken every 6 clock messages (i.e., every quarter note).
-
Processing Note Messages:
l = len(msg_deque): Gets the length of themsg_deque.if l > 0: Checks if there are any messages in the deque.note_num = (1+seq) % l: Calculates the index of the next note to play in a round-robin fashion.note_on = msg_deque[note_num]: Retrieves thenote_onmessage from the deque at the calculated index.print("Sending:", note_num, note_on): Prints the note number and the message for debugging or logging purposes.outport.send(note_on): Sends thenote_onmessage to the MIDI output port.time.sleep(clock_s/4): Waits for a quarter of the clock interval (clock_s) before sending the next message.note_off = mido.Message('note_off', note=note_on.note, velocity=0, channel=note_on.channel): Constructs anote_offmessage for the same note.outport.send(note_off): Sends thenote_offmessage to the MIDI output port.seq = seq + 1: Increments the sequence counter to point to the next note in the deque for the next iteration.clock_queue.task_done(): Marks the task as done, indicating that the current clock message has been processed.
-
Handling Empty Queue:
except queue.Empty: Catches thequeue.Emptyexception if no clock message is retrieved within the timeout period.continue: Continues to the next iteration of the loop, retrying to get a clock message.
Improving the looping MIDI sequencer
You may not understand all the code at first, but the best way to learn and get familiar with it is to play with it, make modifications, and check how it sounds. Here are a few ideas to help you get started:
-
Experimenting with the Deque and Sequence
- Change the Length of the Deque: Try adding more
note_onmessages to themsg_dequeand observe how the sequence of notes changes. For example, add different notes with varying velocities and channels. - Modify the Sequence: Alter the
note_num = (1 + seq) % llogic to see how it affects the order in which notes are played. Try reversing the order, skipping notes, or implementing more complex patterns.
- Change the Length of the Deque: Try adding more
-
Adjusting Timing
- Change
clock_sValue: Experiment with different values forclock_sto speed up or slow down the note playback. This will help you understand how timing affects the overall performance. - Modify Sleep Durations: Adjust the
time.sleep(clock_s / 4)to see how changing the delay impacts the rhythm and synchronization of the notes.
- Change
-
Handling Different MIDI Messages
- Include Other MIDI Events: Extend the
handle_inportfunction to handle other MIDI message types likenote_off,control_change, orpitchwheel. See how incorporating these messages changes the behavior and capabilities of your sequencer. - Parameter Control: Introduce control messages to adjust parameters like tempo, sequence length, or note velocity in real time using MIDI controllers or other input devices.
- Include Other MIDI Events: Extend the
-
Enhancing Output Logic
- Dynamic Note Generation: Instead of only using pre-defined notes in the
msg_deque, try generating notes dynamically based on certain rules or algorithms. This can make your sequencer more interactive and responsive. - Layered Output: Modify
handle_outportto send multiple notes simultaneously, creating chords or harmonies. Explore how sending different combinations of notes together changes the sound.
- Dynamic Note Generation: Instead of only using pre-defined notes in the
Demo and conclusion
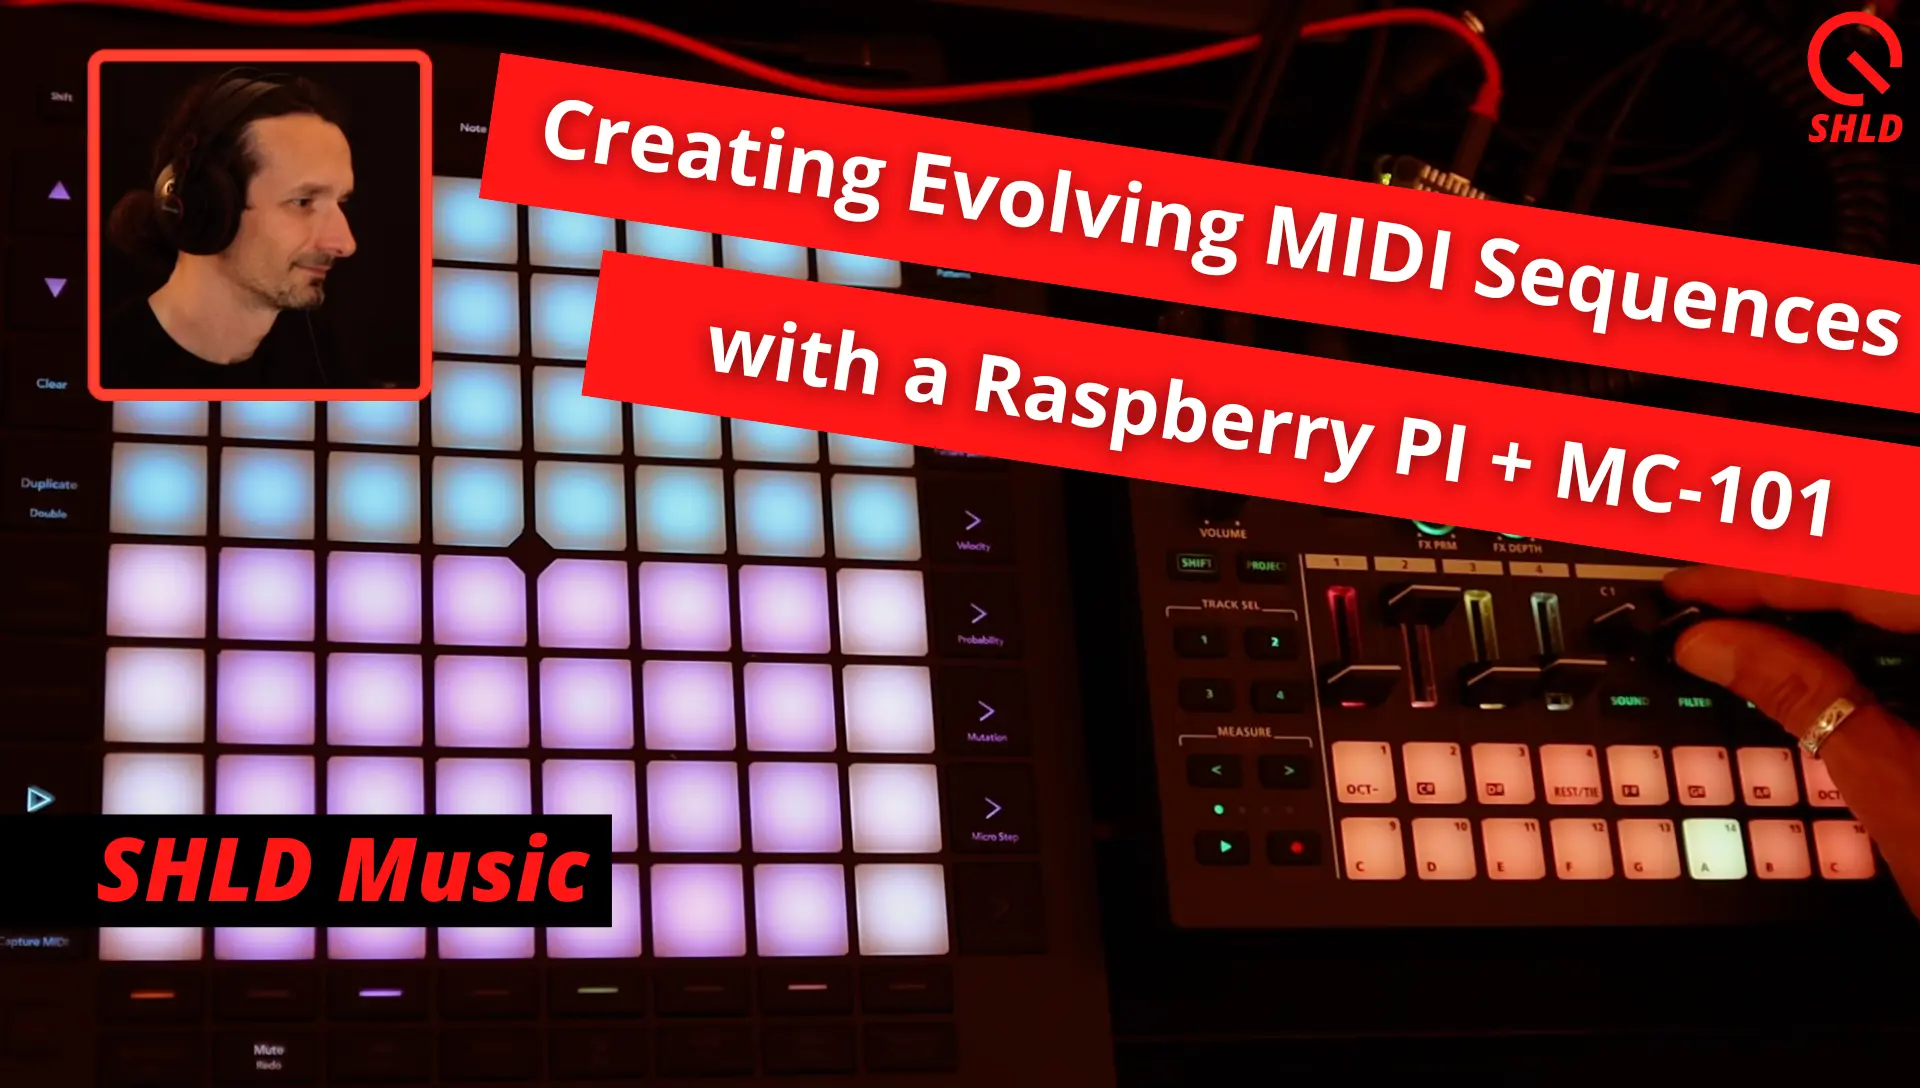
Here is a demo of the dual looping sequencer on my Youtube:
In the world of music production and performance, MIDI sequencers play a crucial role in creating, manipulating, and controlling musical sequences. While there are plenty of off-the-shelf MIDI sequencers available, building your own custom MIDI sequencer with a Raspberry Pi opens up a realm of exciting possibilities.
The beauty of working with MIDI and Python is the ability to create custom musical tools tailored to your specific needs and creativity. Don't be afraid to experiment, make mistakes, and iterate on your designs. Each change you make will help you learn more about MIDI programming and inspire new ideas for musical expression.
If you have other MIDI sequencer ideas, that you'd like to translate to Python, let me know in the comments below!
Speak your mind